Æternity blockchain is live after long period of waiting, the community is big and the core developers are top skilled. The project offers smart contracts development platform for decentralized applications dapps or how they call them – æpps.
In this tutorial we are going to create a simple smart contract in Sophia ML programming language – address book
Prerequisites
- Docker
ForgaeAEproject- Aecli * (optional if we want to do something with the sdk like encode/decode address by publicKey or signTx)
Docker we need for running local aeternity node for compiling, testing and development environment. Assuming you already have
Forgae AEproject
We install it globally via:
npm install -g aeprojectAfter installing forgae AEproject we can verify everything went well with aeproject --help which will also get us familiarize with the commands and options it has.
Usage: aeproject [options] [command]

Options:
  -V, --version      output the version number
  -h, --help         output usage information

Commands:
  init [options]     Initialize AEProject
  compile [options]  Compile contracts
  test [options]     Running the tests
  node [options]     Running a local node. Without any argument node will be runned with --start argument
  deploy [options]   Run deploy script
We are almost done with the setup. The last tool we need is aecli which is æternity’s JavaScript SDK command-line interface. It is still not available as
git clone https://github.com/aeternity/aepp-cli-js.gitWe then need to enter into the cloned repository with:
cd aepp-cli-jsRun npm link in order to link the AECLI to aecli/bin/aecli.js (If you have any folder permission issues, try running with sudo sudo npm link)
npm link
npm linkcommand will create a symlink in the global node_modules folder and expose the CLI binary to be used through the terminal.
and lastly we should runnpm install so npm update its packages and symlinks.
npm installNow if everything went well our environment is set and ready to start developing sophia smart contracts on æternity.
Project init
As always, first we need to create a directory where our project files will be placed:
mkdir addressbook-aeppcd addressbook-aepp
Then we initialize our project with aeproject init which will create for us all the necessary files and directories.
aeproject init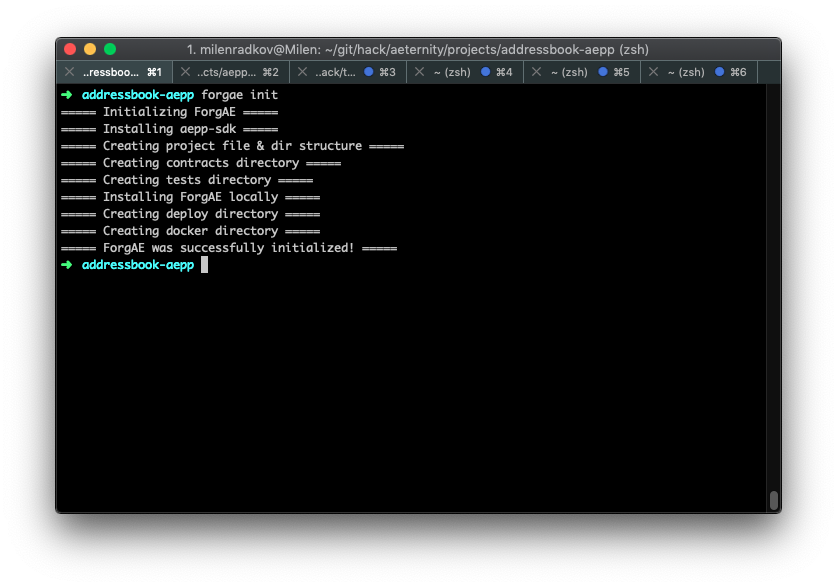
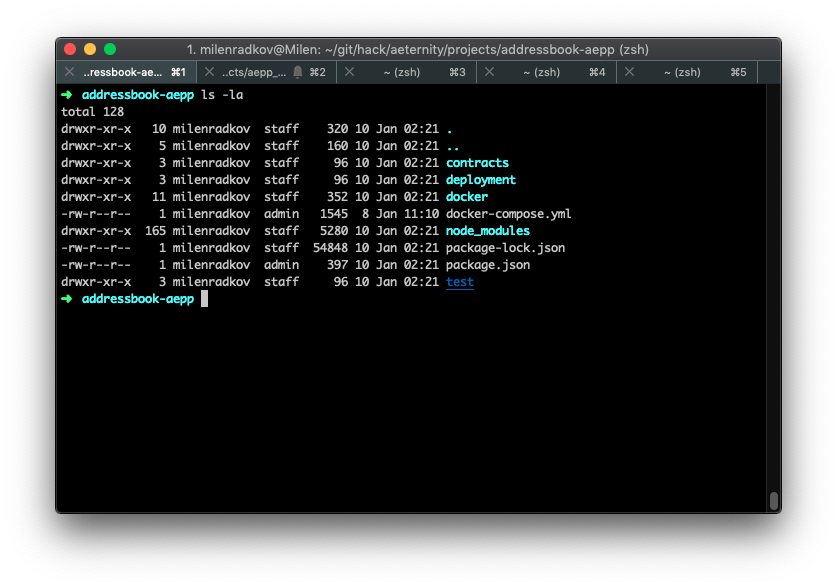
If we look at our project directory we will see that we now have contracts, deployment, test directories where our focus will mainly be, as well as other config files like package.json and docker-compose.yml.
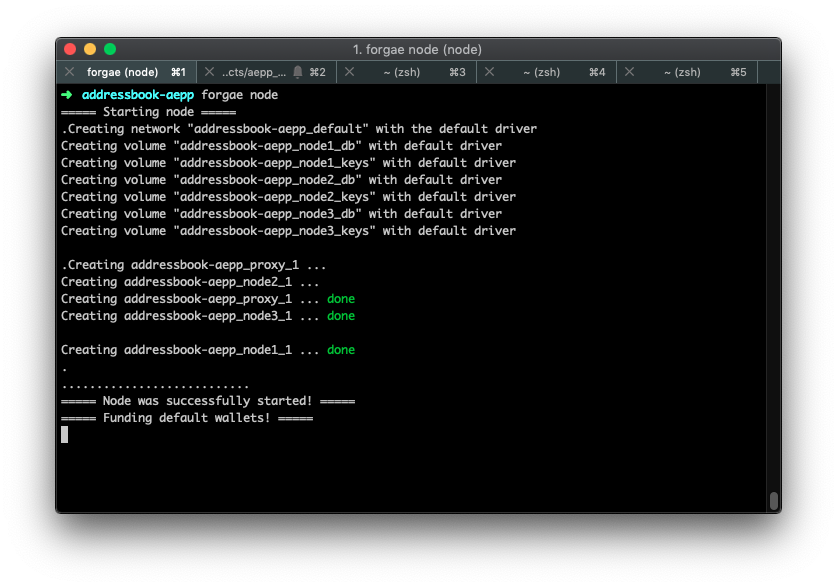
Now we need to start docker and then start our local node with:
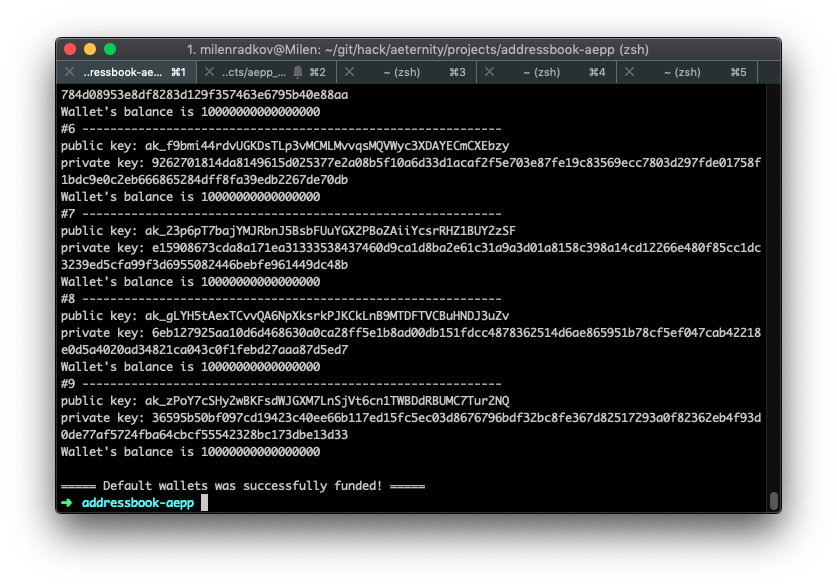
aeproject nodeThe node command help developers run their
documentationlocal network on docker. The local network contains 3 nodes. To spawn a fully functionalnetwork takes couple of minutes. At the end of thiscommand you willbe presented with accounts that you can use in your unit tests.
To stop the local node, simply run
aeproject node --stopAdditionally we need to start the local compiler the same way as we start the node.
aeproject compiler
Write Sophia ML smart contracts
When we initialized our project with aeproject init it automatically created for us an ExampleContract.aes file, which name speaks for what it is. Its content looks like this:
@compiler >= 4
contract ExampleContract =
    type state = ()
    function main(x : int) = x
This example contract has one function which accepts a single argument of intx
If this is your first time looking at Sophia smart contract, you probably notice that it is quite different from Solidity for example, and looks much similar to Python.
Okay, we move on to the fun part. We now hit the delete button and get rid of the ExampleContract.aes.
We create our AddressBook.aes sophia smart contract in the contractsfolder and open it with our favorite editor (in my case VIM).
We define the name of our smart contract, following the example above:
contract AddressBook =
Note: Indentation is important in Sophia language, so keep that in mind.
Sophia uses Python-style layout rules to group declarations and statements. A layout block with more than one element must start on a separate line and be indented more than the currently enclosing layout block. Blocks with a single element can be written on the same line as the previous token.
Each element of the block must share the same indentation and no part of an element may be indented less than the indentation of the block.
Okay, the first thing we do after that is defining our person and state records and create the initfunction.
@compiler >= 4
contract AddressBook =

   record person =
     { first_name : string
     , last_name : string
     , age : int }

   record state  = { people : map(address, person) }

   entrypoint init() = { people = {} }
Let us focus on some info from the sophia documentation so we know what we’ve done so far:
Sophia does not have arbitrary mutable state, but only a limited form of state associated with each contract instance.
- Each contract defines a type
stateencapsulating its mutable state. - The initial state of a contract is computed by the contract’s
initfunction. Theinitfunction is pure and returns the initial state as its return value. At contract creation time, theinitfunction is executed and its result is stored as the contract state. - The value of the state is accessible from inside the contract
through an implicitly bound variable
state. - State updates are performed by calling a function
put : state => (). - Aside from the
putfunction (and similar functions for transactions and events), the language is purely functional. - Functions modifying the state need to be annotated with the
statefulkeyword.
A contract may define a type state encapsulating its local state. The state must be initialised when instantiating a contract. This is done by the init function which can take arbitrary arguments and is called on contract instance creation.
sophia documentation
We now have to create setter function for saving person’s details, and getter functions for getting them.
   stateful entrypoint add_person(person_address: address, first_name': string, last_name': string, age: int) =
      let new_person : person =
         { first_name = first_name',
           last_name = last_name',
           age = age }
      put(state{ people[person_address] = new_person })
For our getter functions we will need a helper function which will allow us to easily search in the mapwe‘ve created.
function lookupByAddress(k : address, m, v) =
      switch(Map.lookup(k, m))
         None    => v
         Some(x) => x
and our getters:
   entrypoint get_person(person_address : address) : person =
      switch(Map.lookup(person_address, state.people))
         None => abort("No data for that person")
         Some(person_found) => person_found
Now we are done with the smart contract. It should look like this:
Compile Sophia ML contracts
Compiling sophia smart contracts is done via:
aeproject compileAnd if everything went well we should see a similar output
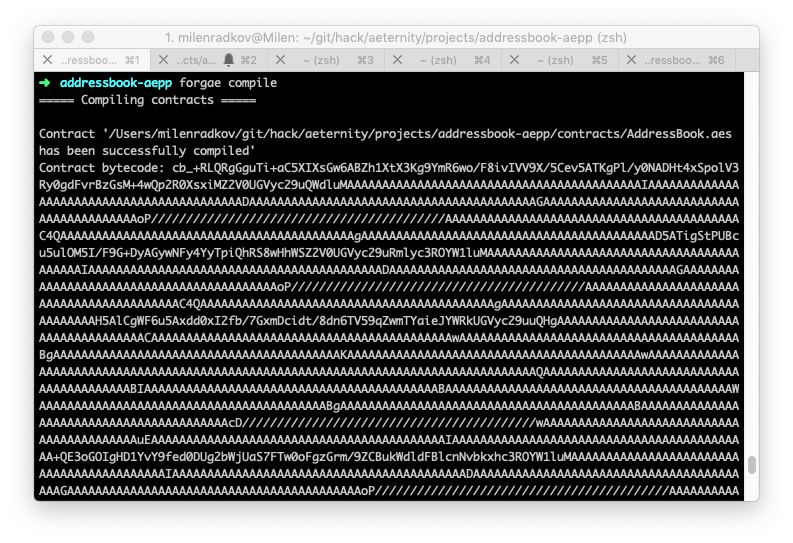
The compilecommand compiles Sophia contract. It’s recommended touse .aesextension. file Default directoryis $projectDir/contracts. The result of the compilation is the contract bytecode printed in the console.Additional --pathparameter is available, which can specify the path to the contract to be compiled.
Writing Unit Tests
First, we need to edit our deployment script, so it knows which contracts should be using. We only replace ExampleContractAddressBook./deployments/deploy.js
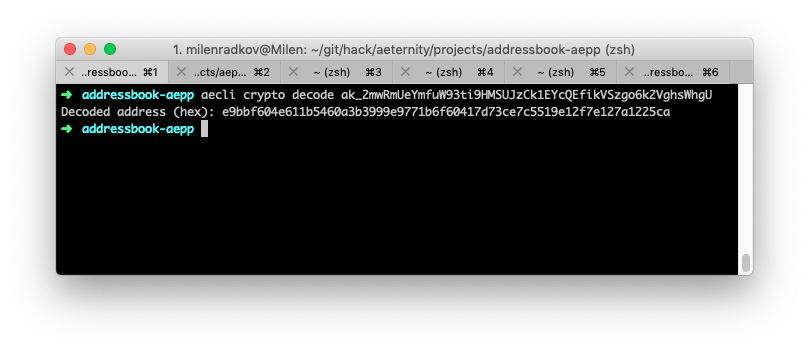
You probably have noticed that we pass the address as 0xe9bbf604e611b5460a3b3999e9771b6f60417d73ce7c5519e12f7e127a1225ca instead of aeternity’s ak_2mwRmUeYmfuW93ti9HMSUJzCk1EYcQEfikVSzgo6k2VghsWhgU. That is because sophia is using the bytes hex representation of our base58 encoded address. We can use aecli to decode our address and prepend 0x afterwards :
aecli crypto decode ak_2mwRmUeYmfuW93ti9HMSUJzCk1EYcQEfikVSzgo6k2VghsWhgU
We should receive this output:
Decoded address (hex): e9bbf604e611b5460a3b3999e9771b6f60417d73ce7c5519e12f7e127a1225ca
Writing unit test for aeternity sophia smart contract is similar to writing unit tests for Ethereum solidity smart contract.
The interesting and thing is passing arguments to functions. As you can see, we are now passing addressfirst_namelast_nameage
args: `(${address}, "${first_name}", "${last_name}", ${age})`,
Note: If you are passing ") around the string too (("Some string")). More than one parameter can be passed separated by coma (("Some string", 123, 45, "Other string")))deploy
Another quite handy thing is that the function call result comes with decode()int , string boolassert the results.
const addPersonResult = await addPerson.decode('bool');
Now if we run aeproject test we should see our unit tests output:
aeproject test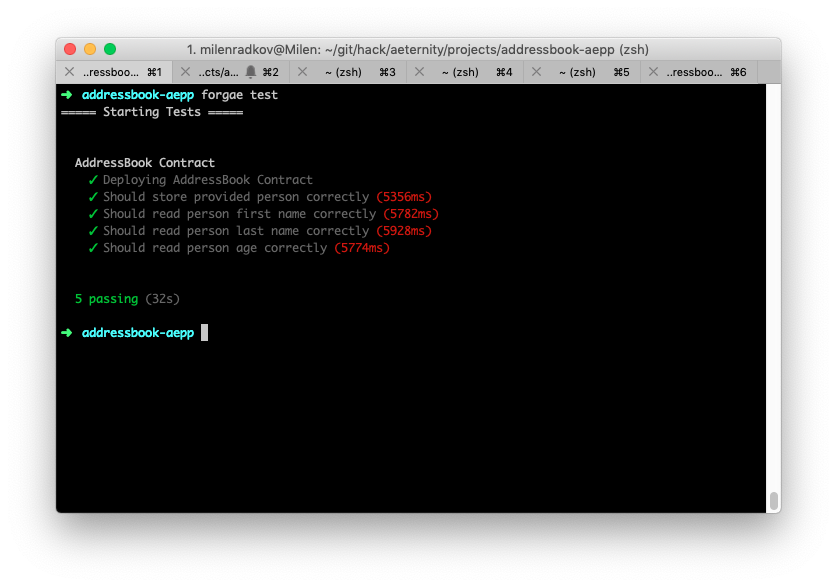
Conclusion
Writing smart contracts on Sophia is very intuitive if you have previous experience writing smart contracts or experience with programming languages like Python.
We will continue this series with some more sophisticated examples which will include deployment on testnet and mainnet and more soon. If you don’t want to miss the new content – join our newsletter to receive all our new content.
