Hey there,
So you are new to
After thinking a while you decide to run it on an Amazon AWS VPS instance, but you are not sure how to set everything up – well you’ve come to the right place.
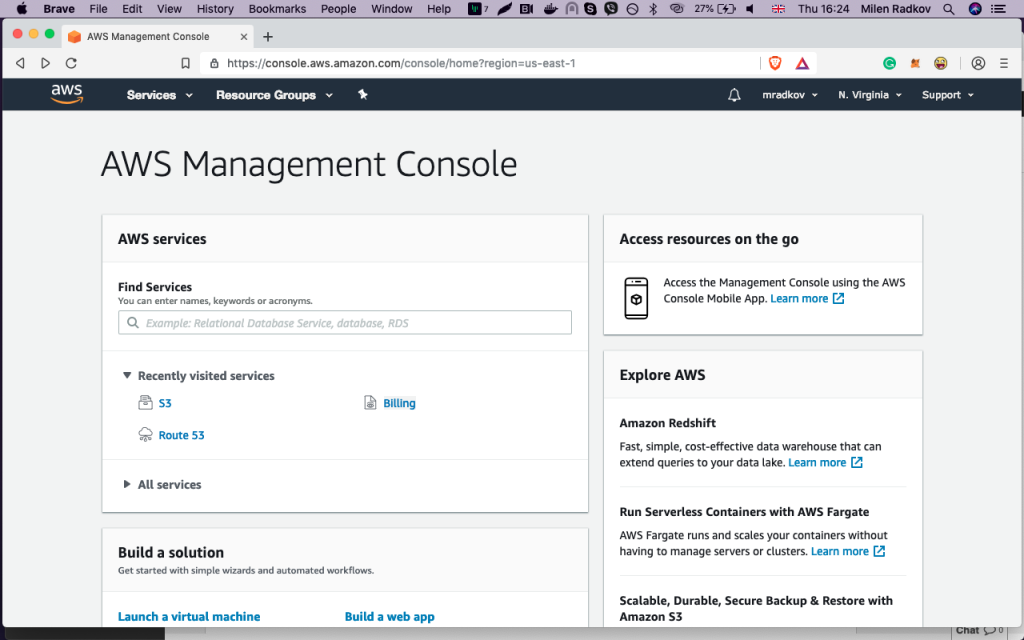
After registering, setting up your account and logging in for the first time you are presented with this AWS Management Console screen.
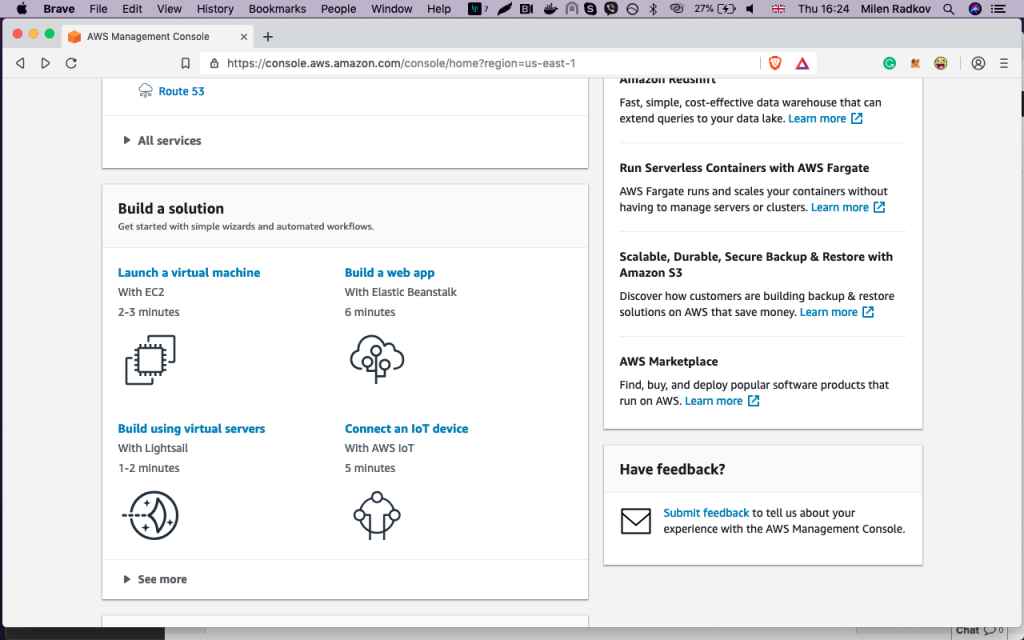
Scroll down a bit and select “Launch a virtual machine“.
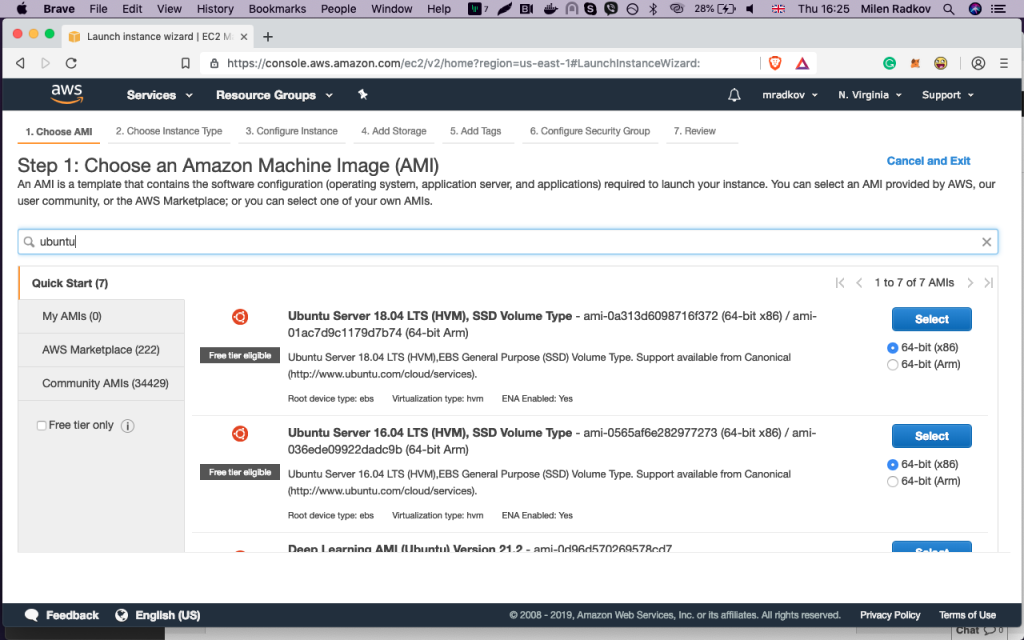
Then in the search bar type “ubuntu” and hit enter.
Aeternity has a node release for ubuntu so Ubuntu 18.04 will be best suitable for the purpose of launching our own node without much headaches.
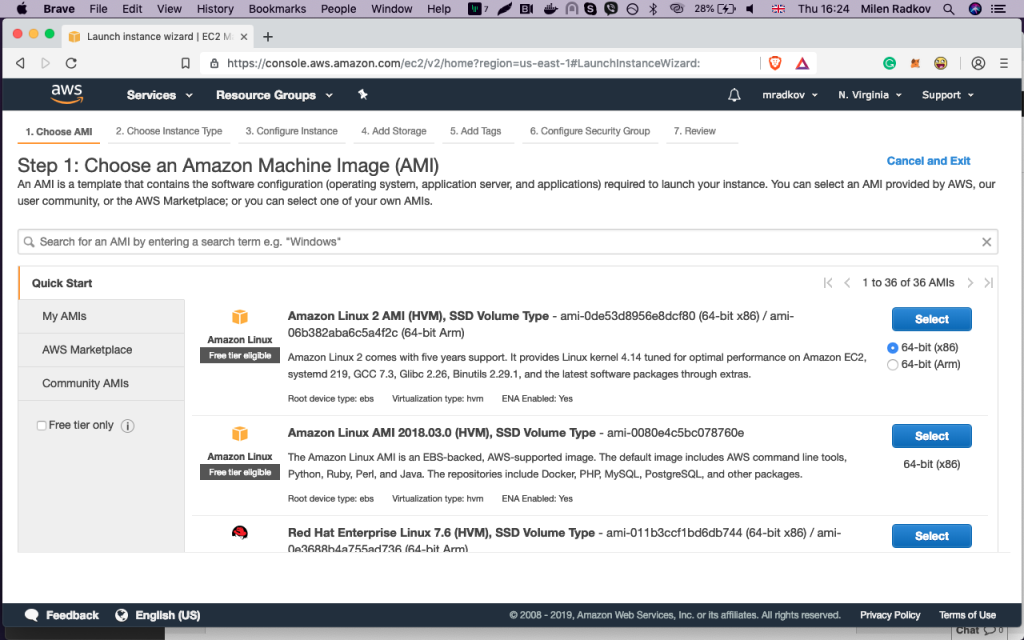
After the search loads, we select Ubuntu Server 18.04 (the first one).
As you may know, Amazon gives you 12 months of free tier usage for some of its services and as it happens t2.micro tier
BUT
It is worth mentioning that if we choose the free tier we won’t have enough CPU time (
So we now have a few options here:
- proceed with the free t2.micro tier, sync the blockchain on our local pc and then upload it to the AWS instance
- proceed with the free t2.micro tier, set everything up and then upgrade the tier when we hit the CPU time limit
- or the easiest one – just select t3.nano or above we are good to go (it won’t cost
us much, as it charges only on usage).
For the purpose of this tutorial I will be proceeding with the second option as it will give you a better overview of the whole procedure than the rest.
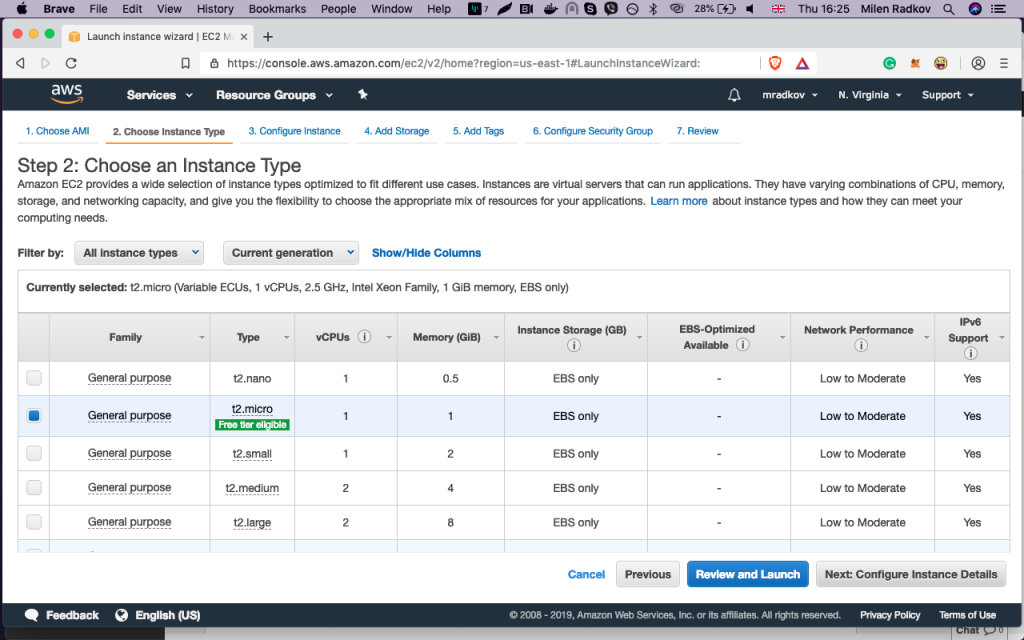
After selecting the tier type we click “Review and Launch” button to continue.
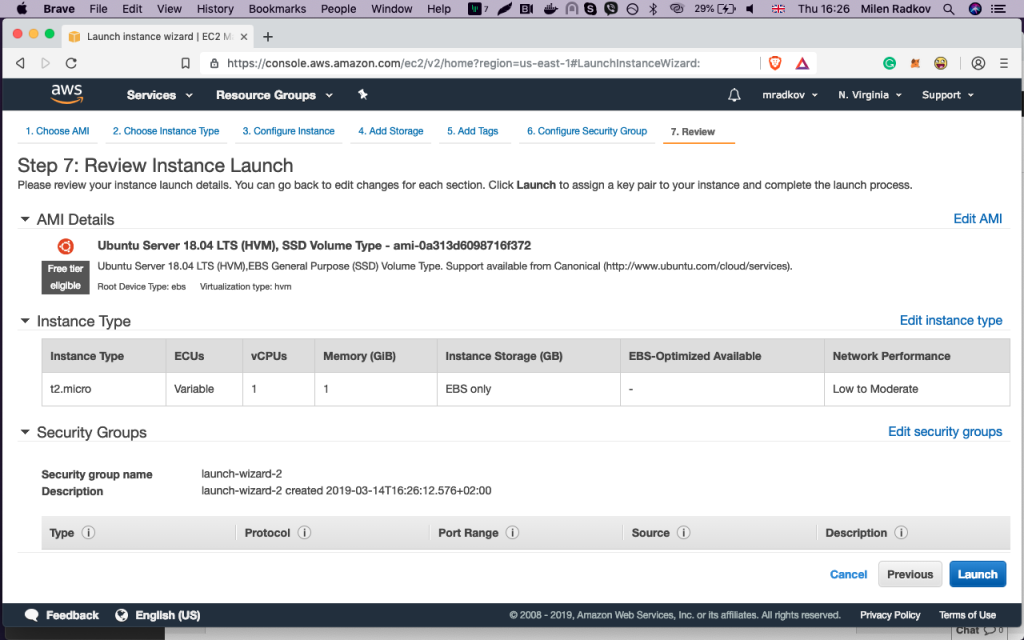
Then we click the “Launch” button. We are being asked to choose a keypair that will be used for SSH-ing into the instance or create a new one.
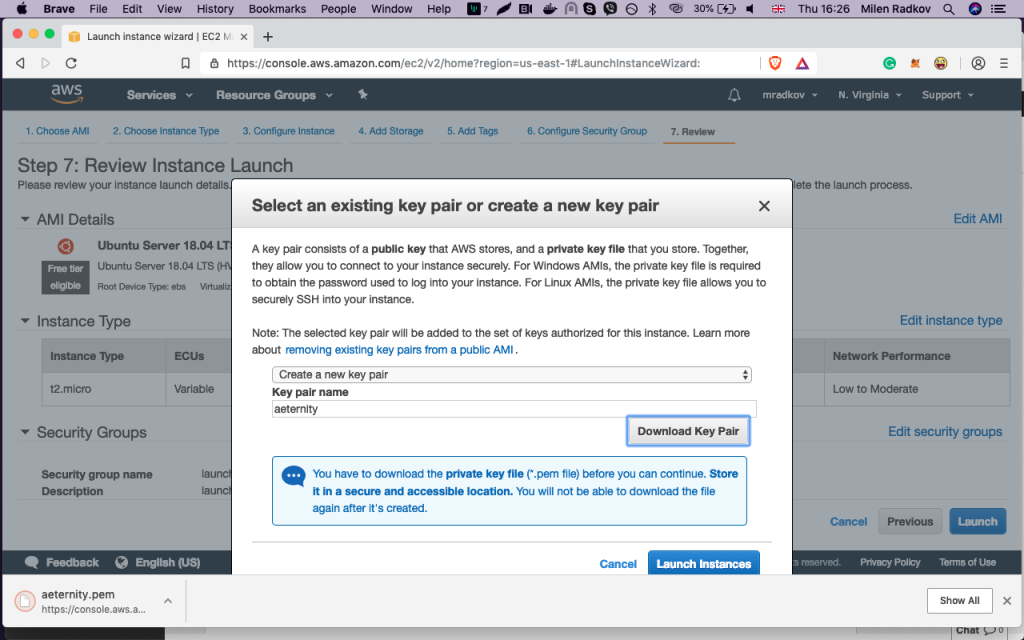
Select “Create a new key pair” and then name it as you like. I named mine aeternity, so if you’ve selected another name, adjust the next commands accordingly.
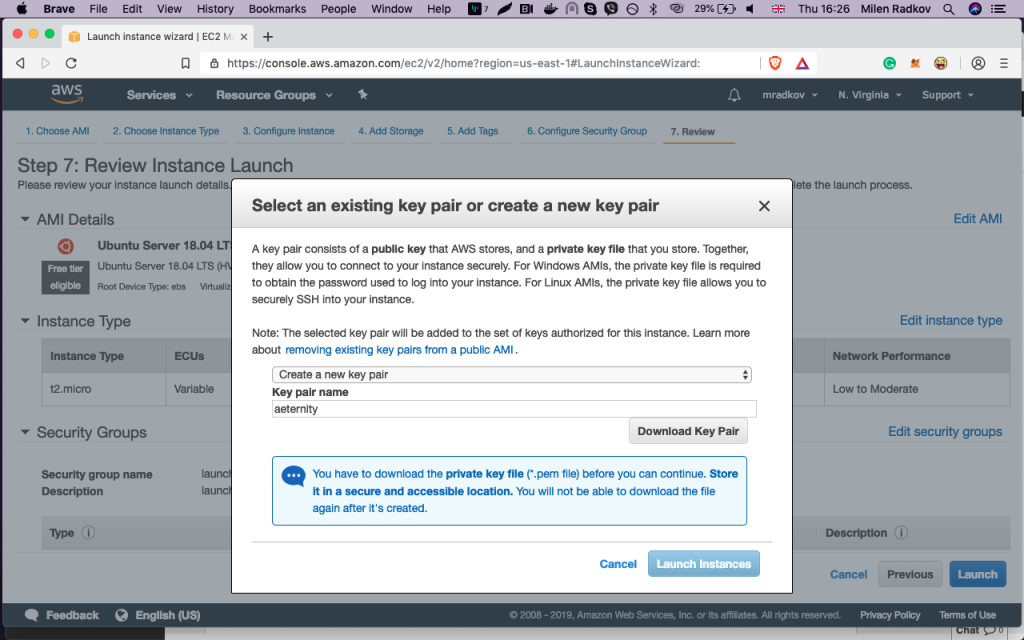
Download the key pair and click “Launch instance”.
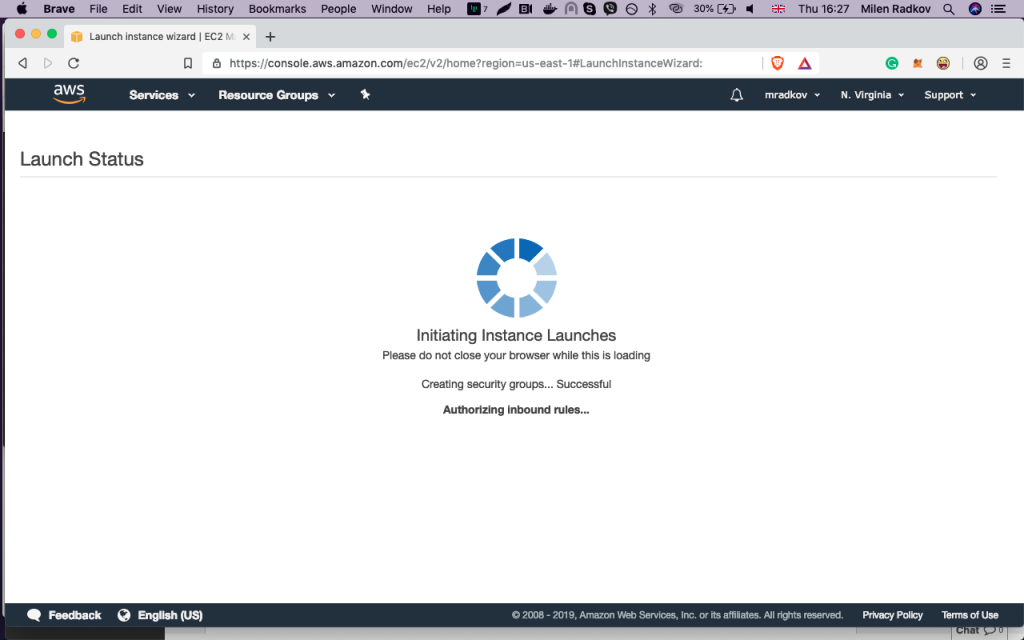
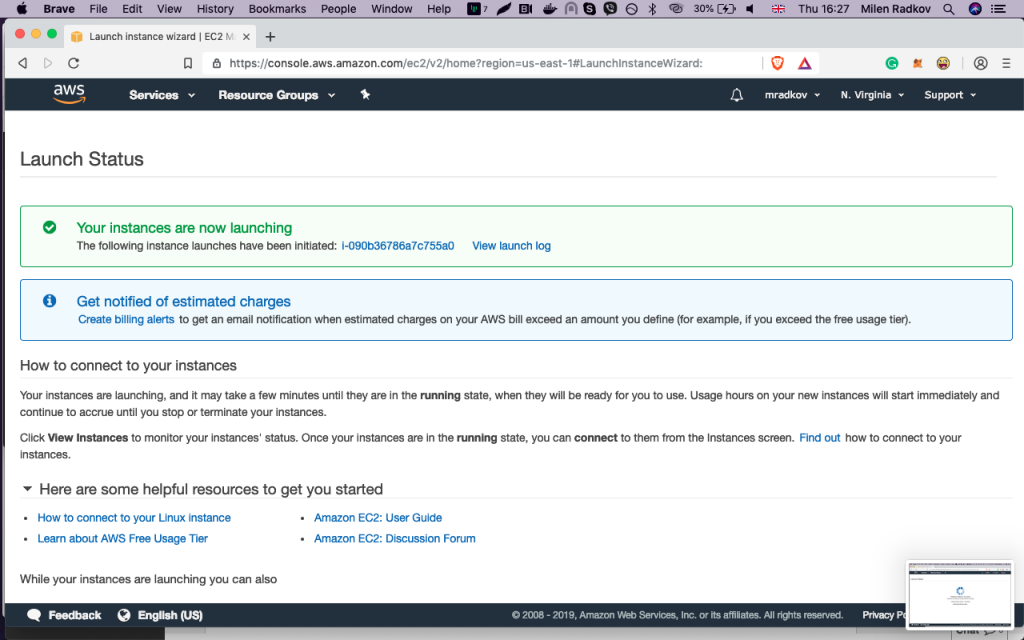
Our new vps instance is now launching.
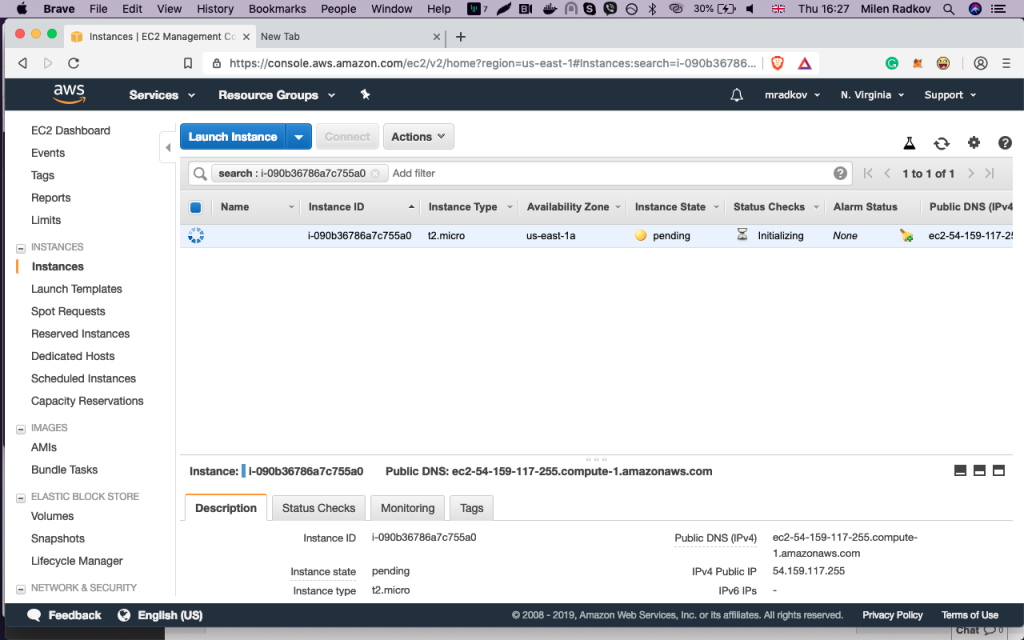
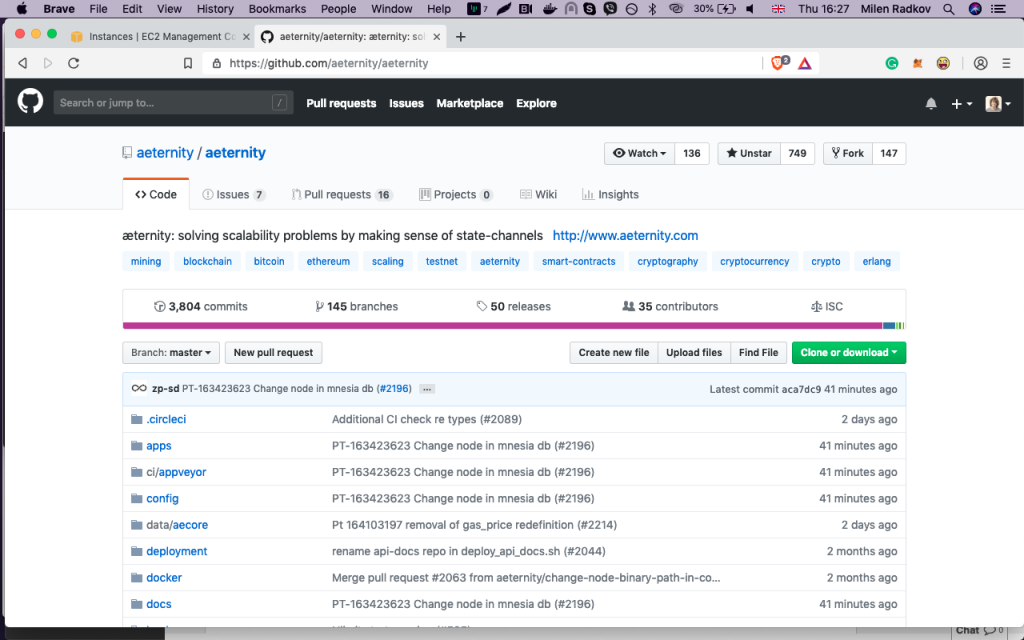
While waiting for our AWS EC2 instance to fire, we can visit the Aeternity blockchain Github repo and search for the latest
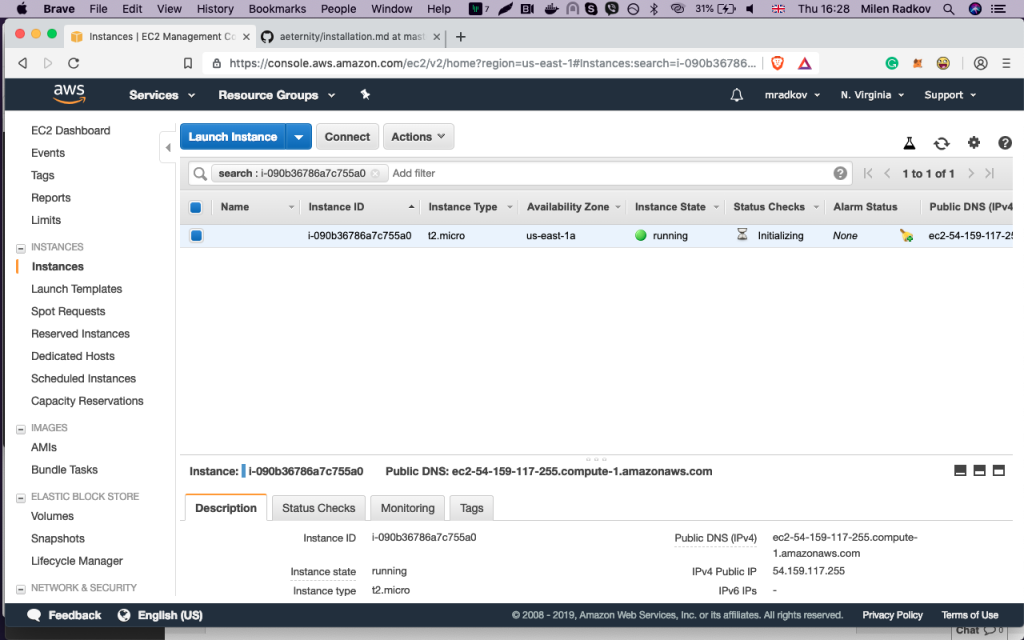
Our AWS instance is already up and running. Now we need to connect to it via SSH and start setting up our aeternity node.
Select the instance and click “Connect”.
We are now provided with instructions on how to connect to our vps via SSH. If you are using Windows machine – you can use PuTTY or another SSH client that you are used to.
I’m running on OSx, so I will proceed with the tutorial via Mac’s terminal. It should be the same so don’t worry.
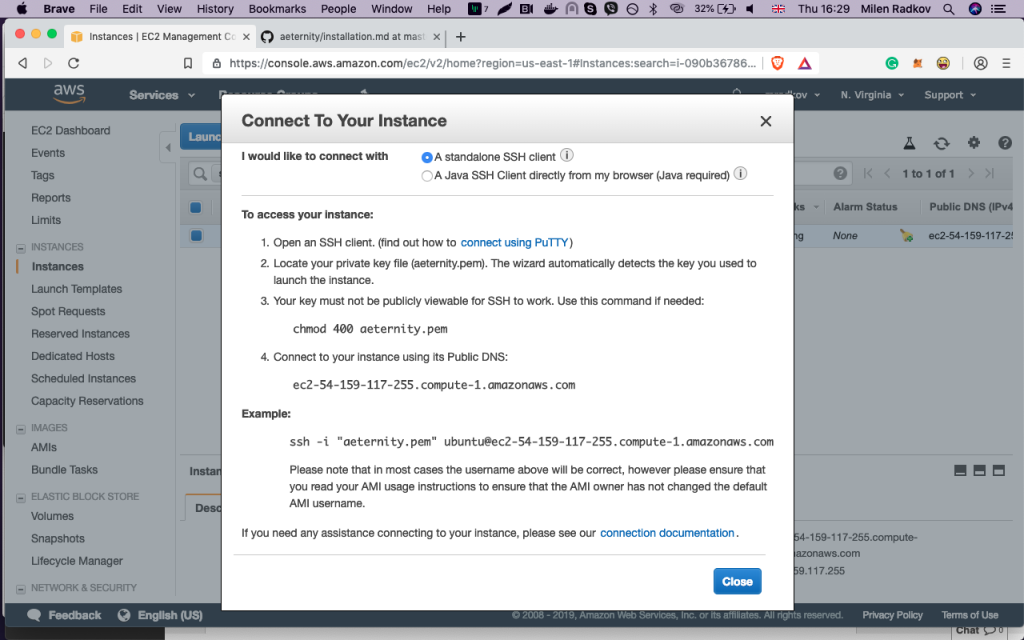
Amazon asks us to change thechmodlevel of the file so the first thing we do is:
chmod 400 aeternity.pem
Note that the key pair file I’ve downloaded to my home folder so if you’ve downloaded your somewhere else – adjust this accordingly to your path.
The next command also should be adjusted according to your .pem file location and the public DNS that Amazon provided for your instance.
You should be able to see the exact commands on the screen above.
ssh -i "aeternity.pem" ubuntu@ec2-54-159-117.255.compute-1.amazonaws.com
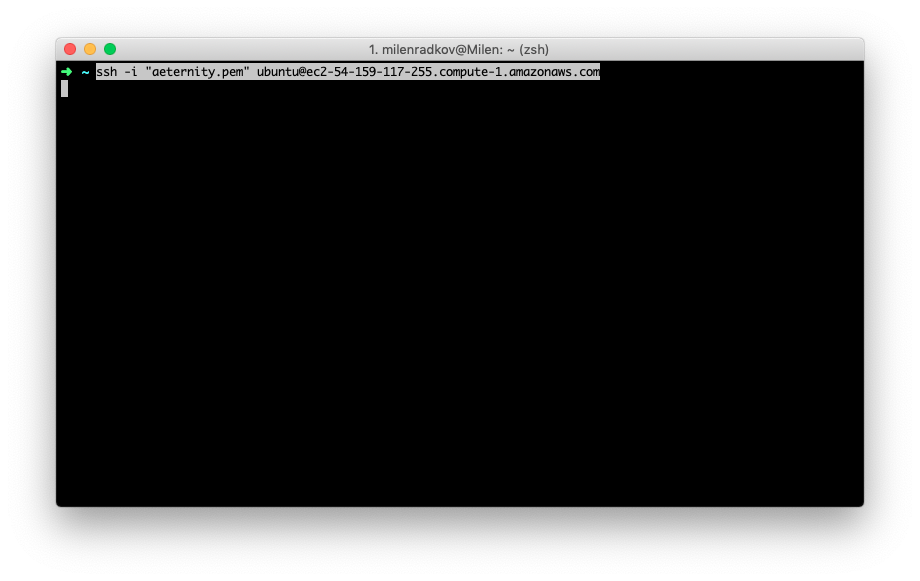
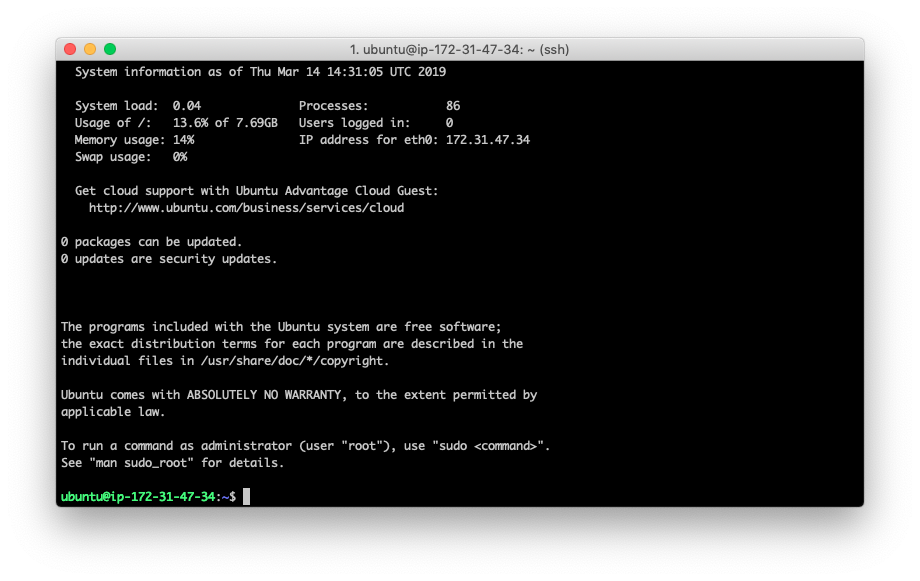
Now we are into our fresh launched Amazon AWS instance.
In order for us to run aeternity node on Ubuntu 18.04 we need to install a few libraries beforehand.
sudo apt-get install libsodium23
sudo apt-get install libssl1.0.0
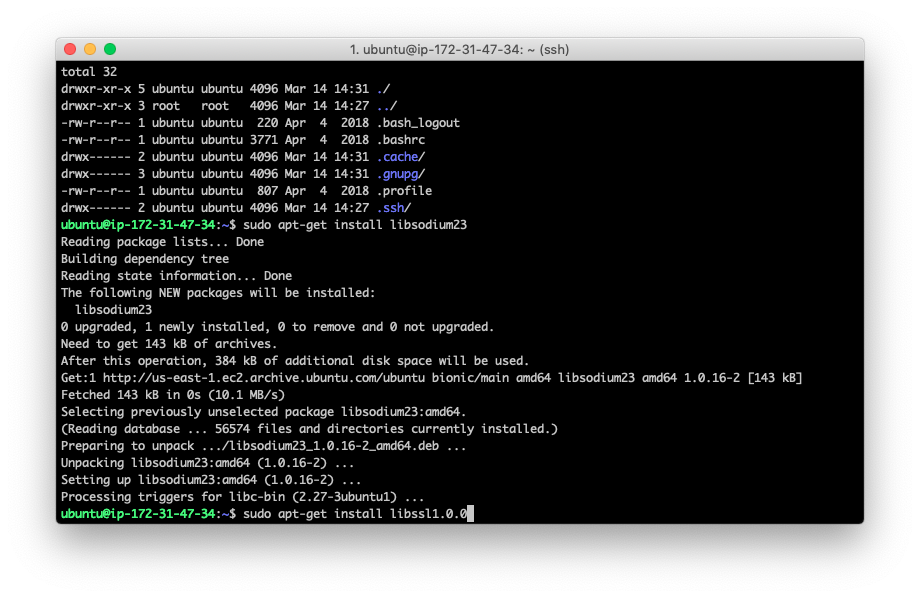
Then we download the latest node release from the aeternity’s github that we checked in the beginning.
wget https://github.com/aeternity/aeternity/releases/download/v5.5.0/aeternity-5.5.0-ubuntu-x86_64.tar.gz
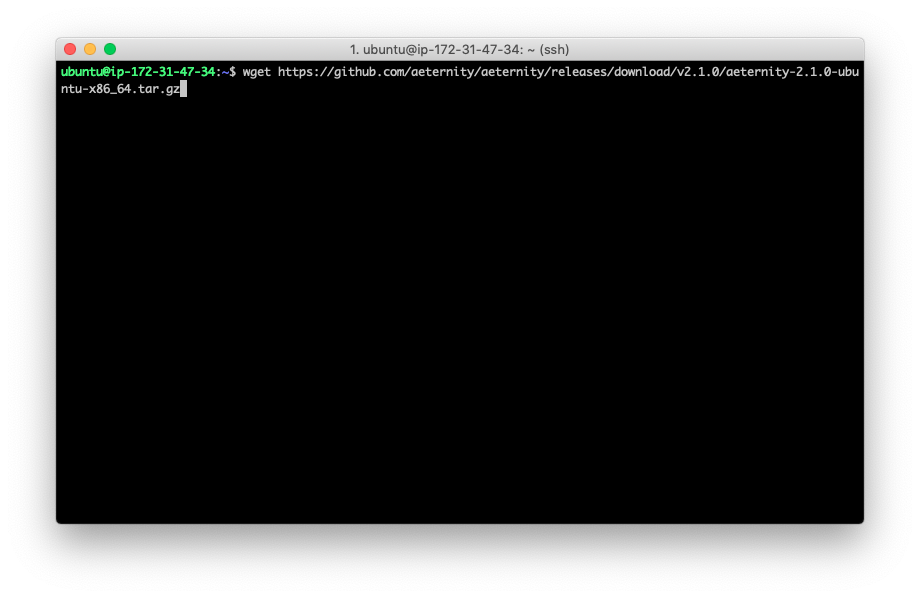
We need to create a directory where our aeternity node will be placed:
mkdir aeternity
and then extract the release archive in it:
tar -xvzf aeternity-5.5.0-ubuntu-x86_64.tar.gz -C aeternity
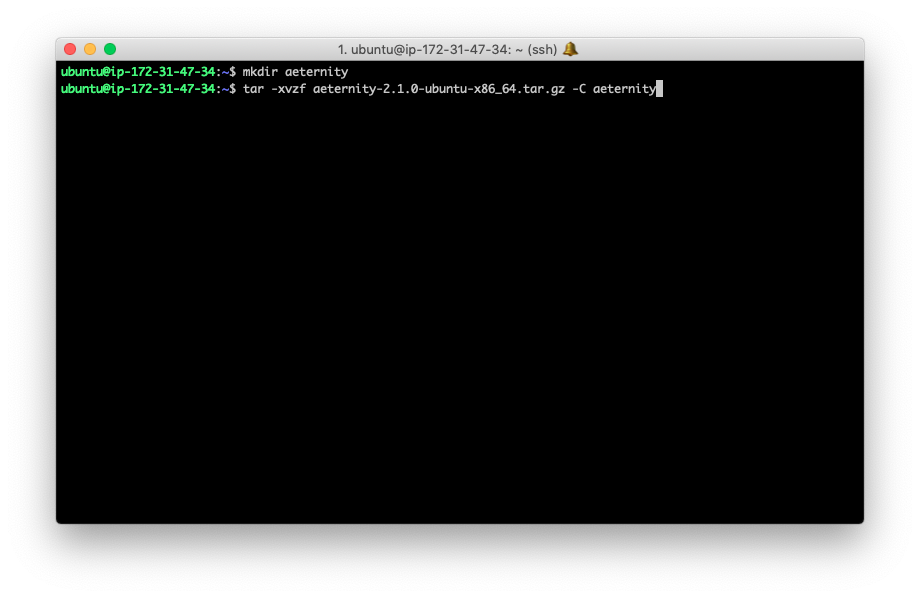
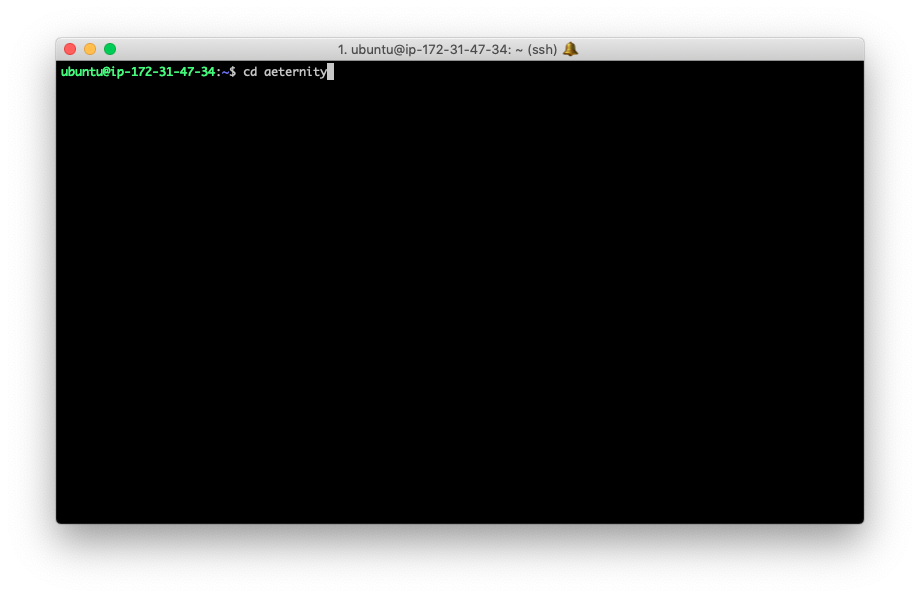
Enter the directory via cd aeternity.
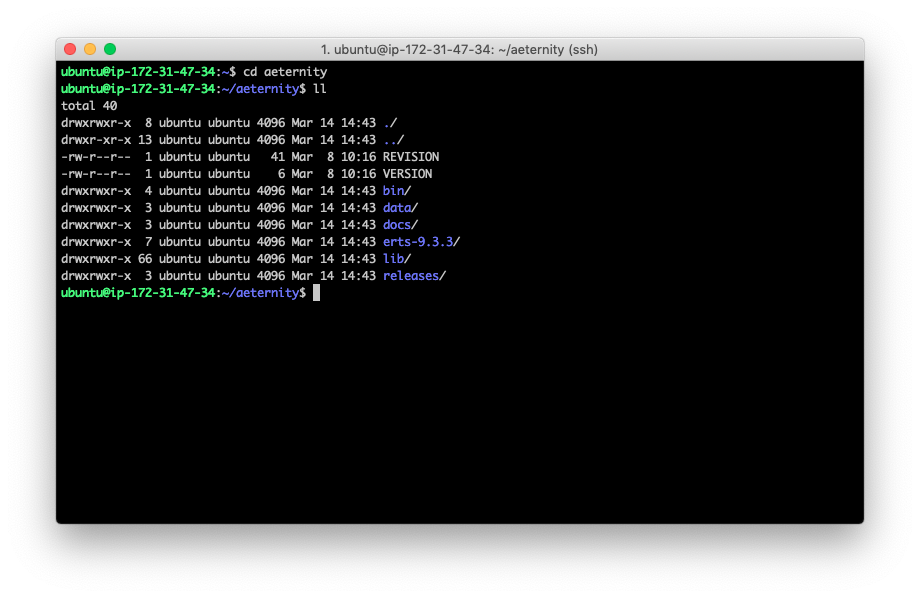
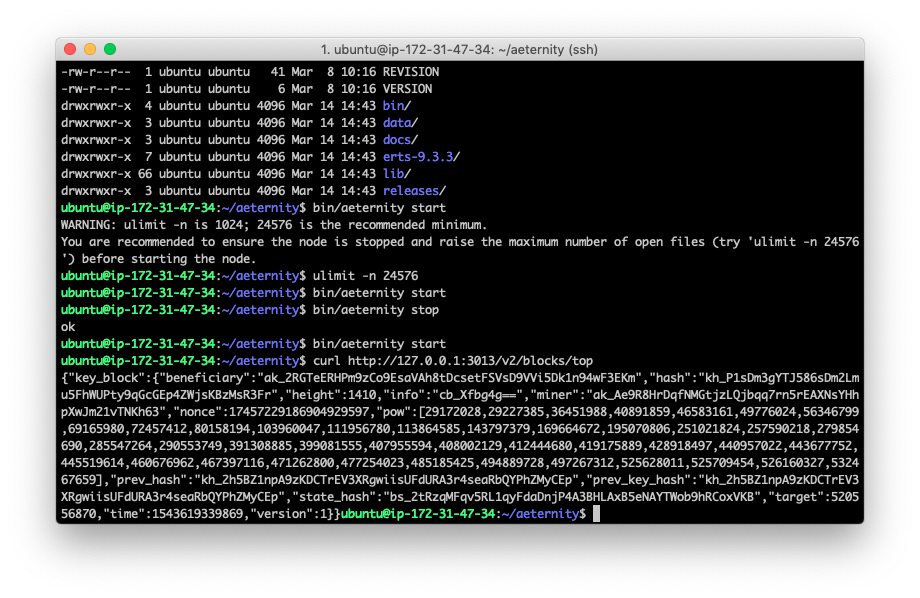
We now can start our aeternity node via:
bin/aeternity start
As you can see we can get a warning related to the maximum number of open files, so we execute ulimit -n 24576 and then start again.
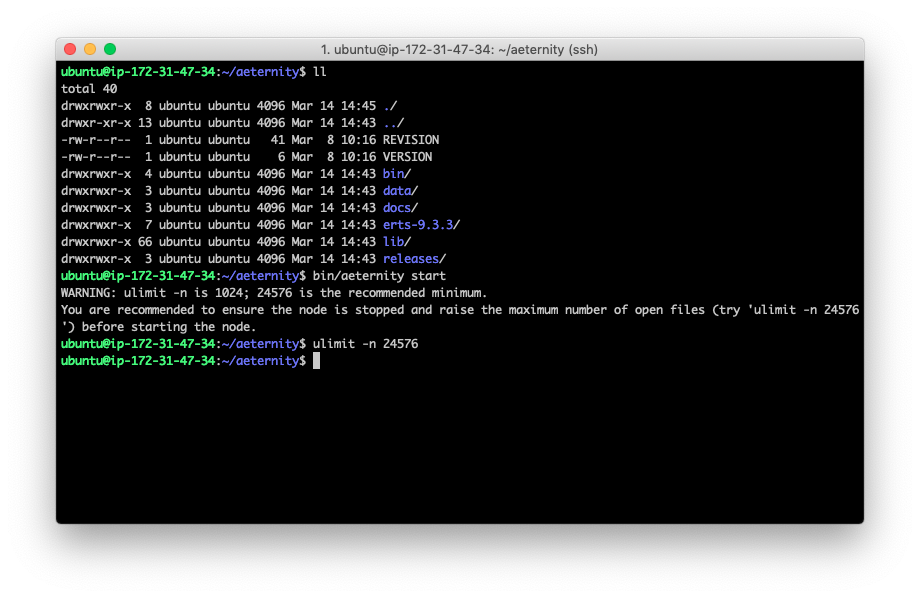
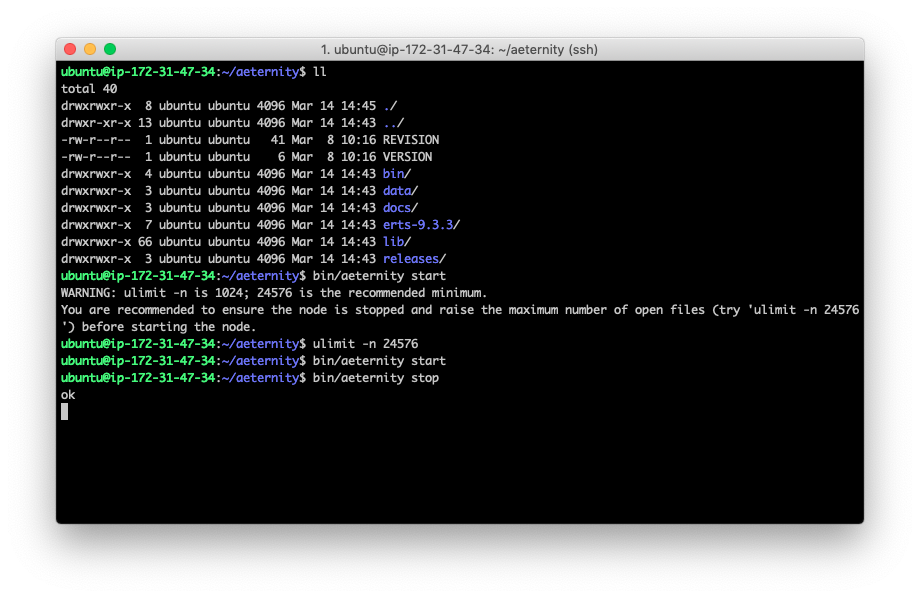
For stopping the node we execute bin/aeternity stop
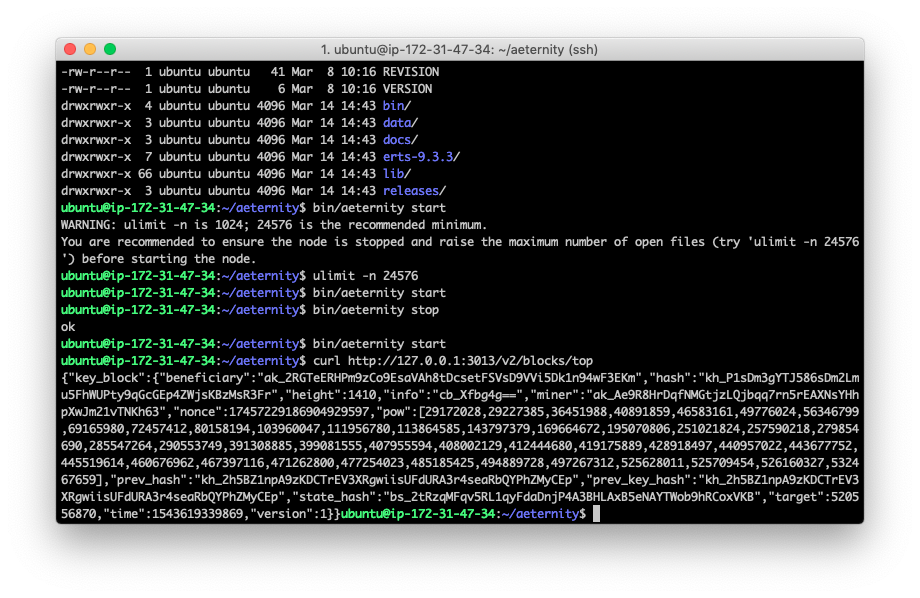
If we want to see if our node is up and running we can make a simple curl request:
curl http://127.0.0.1:3013/v2/blocks/top
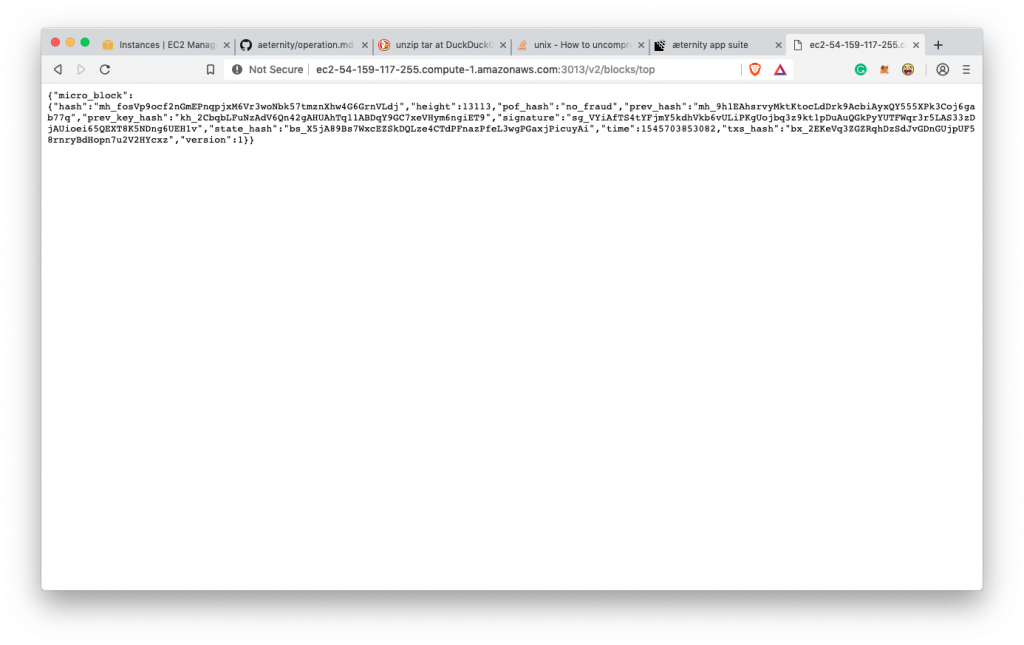
If you get some JSON like this – it means we are good to go.
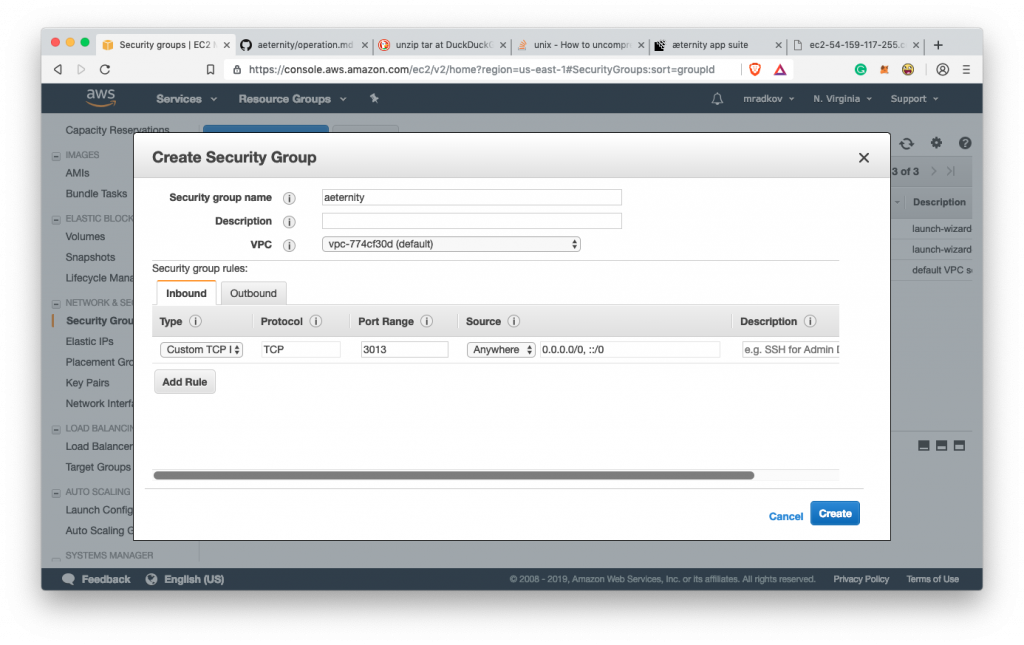
As you can notice the Aeternity node is working on TCP port 3013 so we need to allow that in our instance’s network settings.
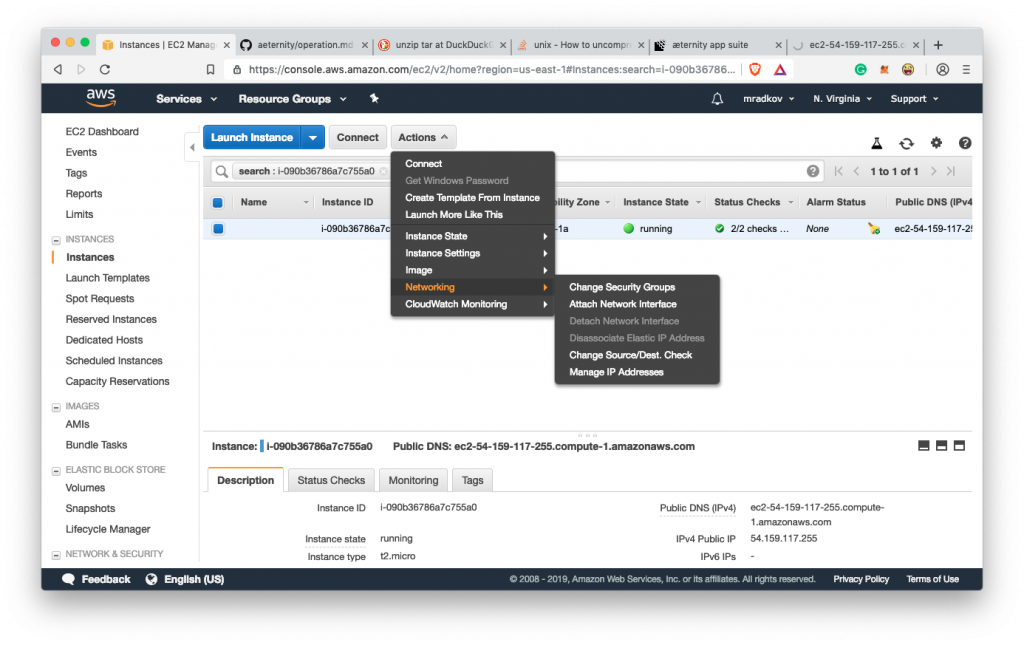
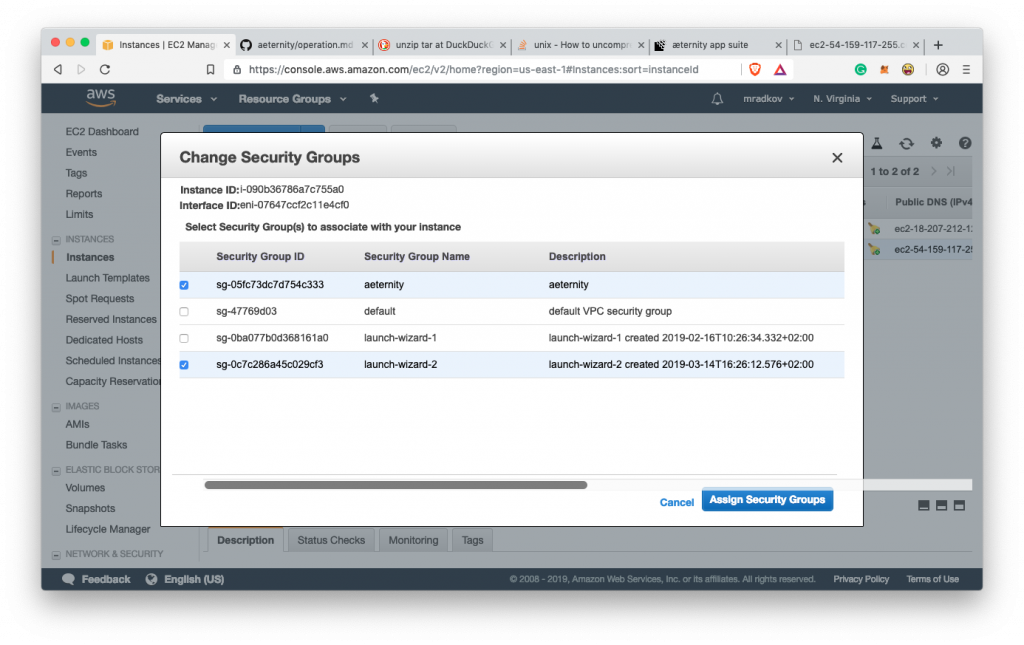
We select the instance then click “Actions” and navigate to “Networking” -> “Change Security Groups”.
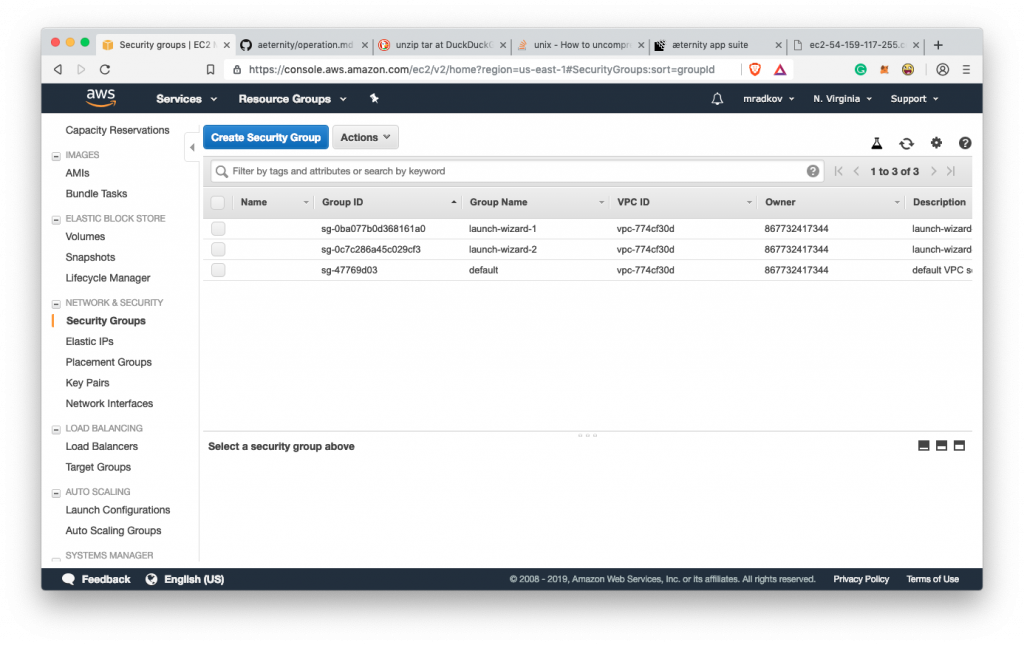
We create 3013
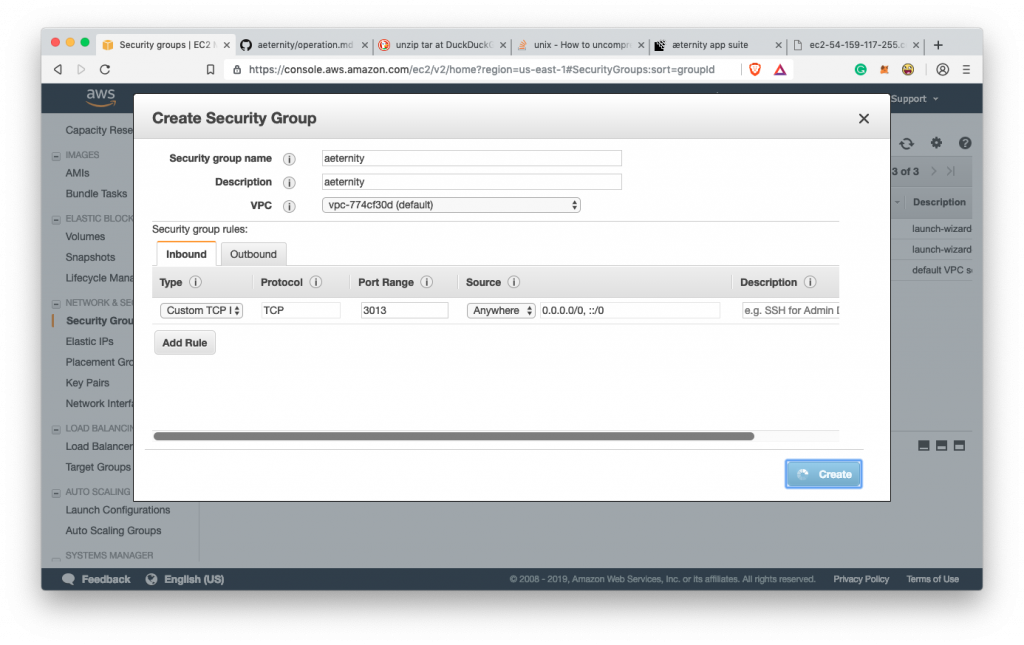
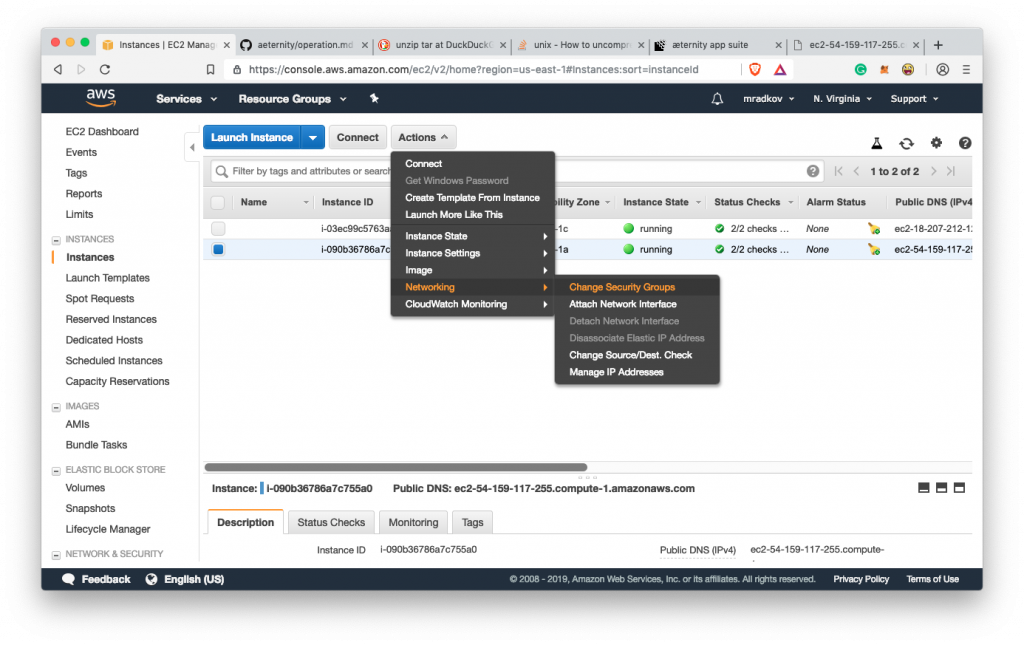
Then we add this to our instance.
We can check if it’s working by accessing it in our browser at the following address:our_instance_public_dns_that_amazon_provided_for_us:3013/v2/status
You now have a running Aeternity node on AWS. Cheers ! 🙂
