Intro
Let’s be honest and put the cards down – if you really need to build a production-ready decentralized application 10 minutes won’t be nearly enough for sure, and if you are not familiar with the technology you might need some assistance with the smart contracts development and setup.
Developing such a decentralized application will be a combination of planning and structuring the architecture of the project, drafting and designing the user interface (UI), writing, testing and deploying the smart contracts needed for the dapp to run its business logic … and combining all this together. This also involves a wide variety of technology stack options, depending on the desired outcome and use-case.
For the purpose of this tutorial though, we will develop an app from scratch to a working decentralized application on aeternity blockchain with a simple frontend.
Now let the timer start:
1. Initialize our project
We will use the aeproject tool which will allow us to easily set up the development environment locally.
- dependencies
- docker
- npm & node
Install globally
npm install -g aeprojectInitialize project
aeproject init2. Write our smart contract(s)
In this step, we will develop a simple smart contract that is only storing an integer (number) in its state on the blockchain.
Let’s also add a getter method which will allow us to read from the contract state.
Usually, we will do something like this:
@compiler >= 4

contract MyContract =
   record state = { number: int }
   entrypoint init() : state = { number = 0 }
   stateful entrypoint set(x: int) = put(state{number = x})
   stateful entrypoint get() : int = state.number
In our case, we can further simplify our contract since we are only storing a single integer value. As we know Sophia contracts have restricted mutable state and it is a strongly typed language so we need to define it initially.
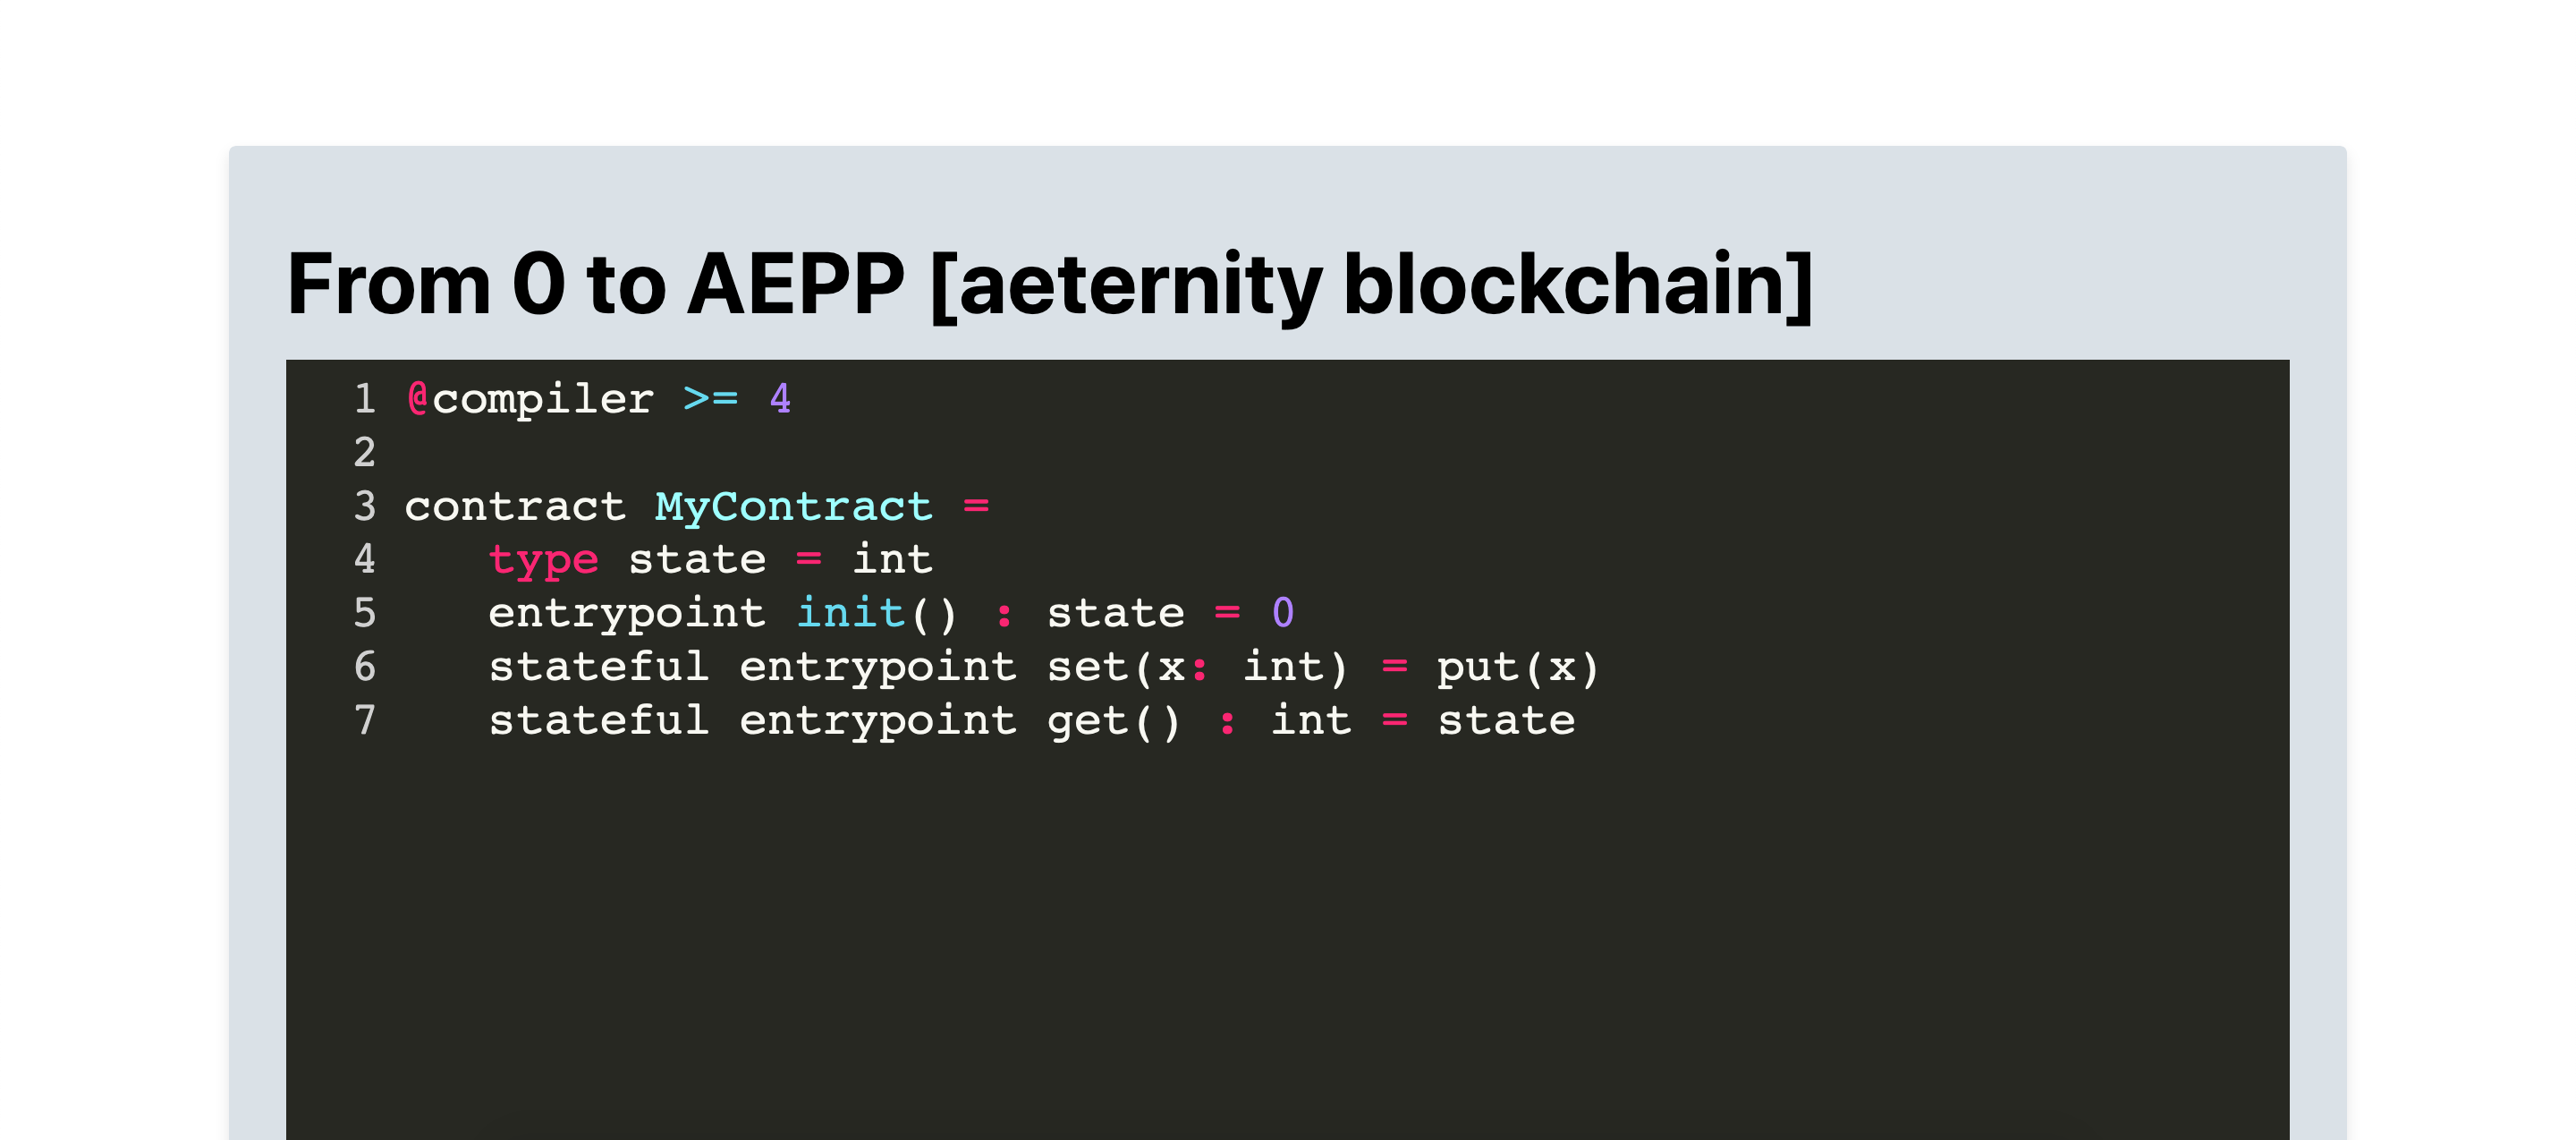
In this case, we can define our state to be of type int as we don’t need the whole record structure for this:
@compiler >= 4

contract MyContract =
   type state = int
   entrypoint init() : state = 0
   stateful entrypoint set(x: int) = put(x)
   stateful entrypoint get() : int = state
Here is the same contract, written in Solidity, on Ethereum blockchain just for comparison if you are more familiar with Solidity … or not:
pragma solidity >=0.5.0 <0.6.0;

contract MyContract {
    uint256 number;
    constructor() public {
        number = 0;
    }
    function set(uint256 _number) public {
        number = _number;
    }
    function get() public view returns (uint256) {
        return number;
    }
}
3. Deploy
In order for us to deploy to an actual testnet or mainnet we need to have some AE tokens on the selected network, so we can pay the mining fee for the transactions we will make to the blockchain.
Note: We could also deploy it on a local testnet which can be started via aeproject node
3.1. Create a wallet
If we do not yet have a wallet which will be used for deployment we need to generate ourselves one:
aecli account create <WALLET_NAME>Note: To quickly test all of Aeternity's blockchain features from your Terminal, you can Install and use our NodeJS CLI by running:
npm i -g @aeternity/aepp-cli
aecli --help3.2. Fund the wallet
We will get some testnet AE tokens from the faucet, so we can deploy the contract.
3.3. Get our private key
We are going to be deploying via the command-line interface (CLI), so we will need to have our private key to pass it to the deployer.
Get our private key:
aecli account address <WALLET_NAME> --privateKey3.4. Deploy to testnet
aeproject deploy -n testnet -s <SECRET_KEY> --compiler https://latest.compiler.aepps.com4. Interaction with the contract
There are multiple we can interact with our contract. The first and most easier is to use one of the online IDEs available out there – contracts.aeternity.art, fireeditor etc.
4.1. Online IDE.
- contracts.aeternity.art – we put our contract code in the editor and we can access our contract by adding the address in the
<Address>field so we can interact with it.
set– for setting a new value in the smart contract we have to make a stateful call (which modifies the state and costs gas)get– our getter we can access by calling static function. - fireeditor.nikitafuchs.de – Same as above we can put our contract code and access the freshly deployed contract at address.
4.2. via the SDK
We can access our contract instance via this simple command and start interacting with it.
await sdk.getContractInstance(CONTRACT_SOURCE, { contractAddress: OUR_CONTRACT_ADDRESS} );Of course we will first have to set up our project and intialize the SDK there.
5. Fully-fledged Decentralized app
5.1. Set up frontend
In order to setup our simple fronted we will use the waellet boilerplate repo which is pre-configured to communicate with the waellet extension and has the aeternity javascript sdk already prepared there.
git clone https://github.com/waellet/waellet-aepp-boilerplate && cd
npm install
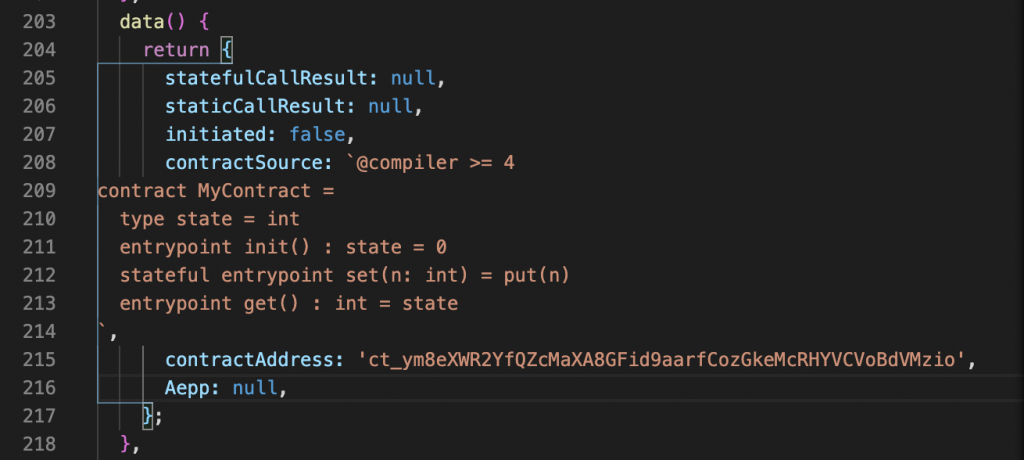
5.2. Add the contract interface (or the full contract code)
We need to add our contract interface in the app, so we can call the correct methods and encode the transactions properly. This is similar to the ABI in Solidity for example.
5.3. Setup function calls
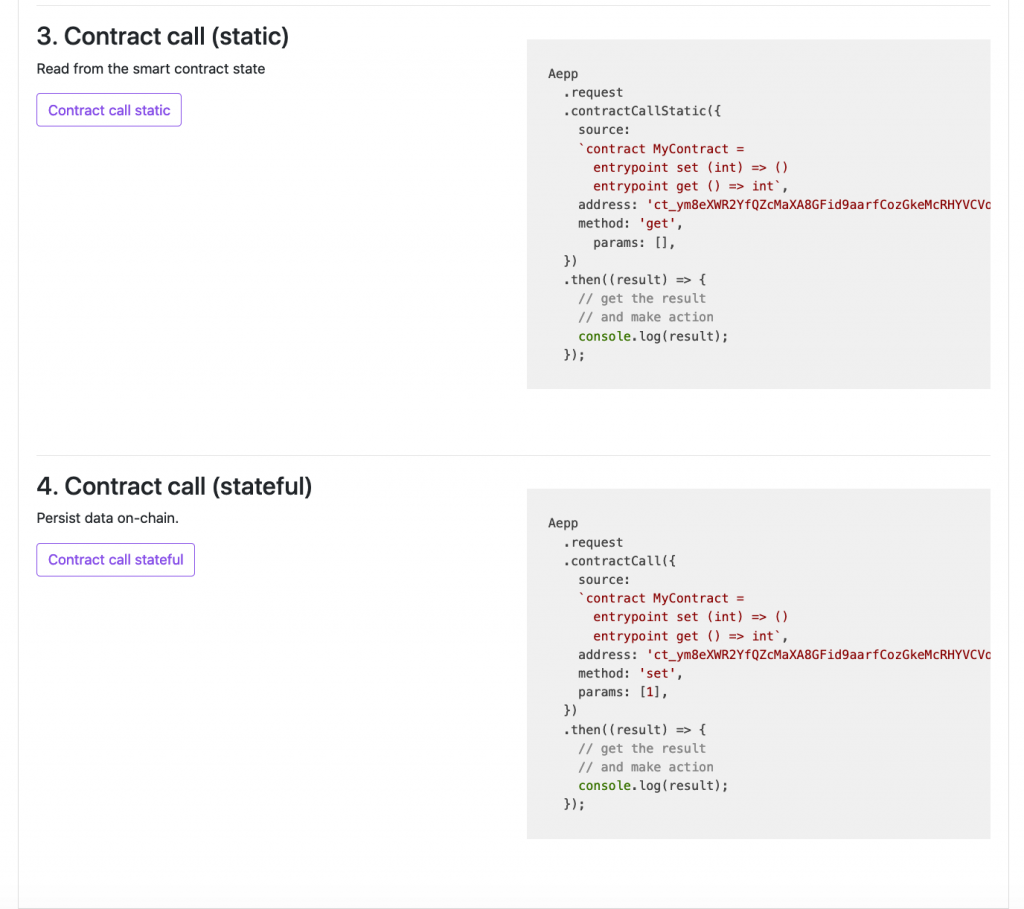
We also need to setup the contract methods calls in the app.
5.4. run
npm run serveWe can now access our app at localhost:3000:
We can interact with the contract with the two sample buttons there.
